Real-Time Display of ESP32-CAM Camera Images on TFT Screen: An Open-Source Solution
Preface
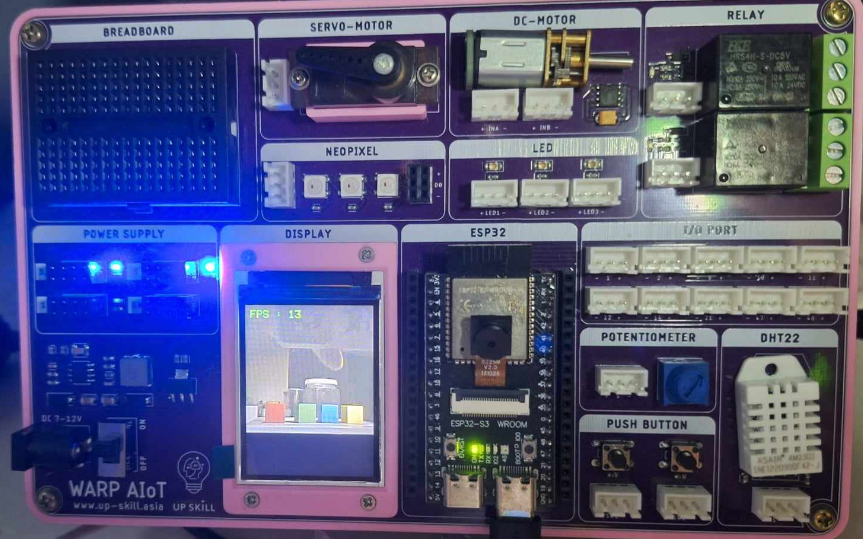
In the era of the Internet of Things (IoT), displaying images captured by a camera in real-time on a TFT screen has become a standard feature for many smart devices. ESP32, as a powerful microcontroller with a rich set of interfaces and strong processing capabilities, is an ideal choice for implementing this functionality. This article will provide a detailed introduction to an open-source project based on ESP32 for real-time display of camera images on a TFT screen, along with detailed steps to help you quickly build your own intelligent display system.
Project Overview
The project, named "camera-tft-esp32," was published on GitHub by developer San279. It aims to provide users with a simple and easy-to-use solution for displaying images captured by an ESP32 camera in real-time on an ST7789-driven or other TFT screens. The project code is concise and easy to understand, with detailed comments to facilitate user comprehension and modification.
Project File Description
- camera-to-tft: This folder contains the Arduino code for real-time display of camera images on the TFT screen.
- User_Setup.h: This file includes configuration information such as driver type, pin definitions, and resolution. It needs to be placed in the TFT_eSPI library.
Project Execution Steps
- Download the Project: Download the project files from the GitHub repository and unzip them into the Arduino IDE directory.
- Install the TFT_eSPI Library: Download the TFT_eSPI library from the Arduino IDE's library manager or the GitHub repository. If downloading from GitHub, use the zip file to add a custom library.
- Replace User_Setup.h: Replace the User_Setup.h file in the project files with the one in the TFT_eSPI library. Modify the relevant configurations in the User_Setup.h file if different ESP32 pin definitions, driver types, or resolutions are used.
- Configure the ESP32 Development Environment: In the Arduino IDE, select settings that match your ESP32 development board model and ensure OPI PSRAM is enabled.
- Upload the Code: Upload the code to the ESP32 development board to complete the project configuration.
Project Code Analysis
The project primarily uses the following libraries to implement its functionality:
- TFT_eSPI: For controlling the display on the TFT screen.
- Camera: For controlling the camera to capture images.
The core part of the project code involves initializing the camera with the Camera.begin() function and using the tft.pushImage() function to display the image data captured by the camera in real-time on the TFT screen.
Project Application Scenarios
The project can be applied to various scenarios, such as:
- Smart Home: Display images captured by the camera in real-time on the TFT screen of smart home devices for remote monitoring and visual control.
- Industrial Automation: Display images captured by the camera in real-time on the TFT screen of industrial equipment for visual monitoring of the production process and fault diagnosis.
- Robot Vision: Display images captured by the camera in real-time on the TFT screen of robots for target recognition and path planning.
Conclusion
This project provides users with a simple and easy-to-use solution for displaying images captured by an ESP32 camera in real-time on a TFT screen. The project code is concise and easy to understand, with detailed comments, making it convenient for users to understand and modify. The project can be applied to various scenarios, such as smart homes, industrial automation, and robot vision, providing users with a powerful tool to easily achieve the functionality of real-time display of ESP32 camera images on a TFT screen, and offering a rich space for expansion.
Project Address: camera-tft-esp32