ESP32 Touch Button
In this article we will talk about how to create a touch-sensitive button with ESP32's internal capacitive touch sensors:

ESP32 touch buttons can be used to control a variety of devices, such as LEDs, motors, and speakers. They can also be used to create user interfaces, such as menus and forms.
ESP32 features 10 internal capacitive touch sensors that can be utilized to create touch-sensitive buttons. The following are the GPIO pins corresponding to these sensors:
- T0: GPIO 4
- T1: GPIO 0
- T2: GPIO 2
- T3: GPIO 15
- T4: GPIO 13
- T5: GPIO 12
- T6: GPIO 14
- T7: GPIO 27
- T8: GPIO 33
- T9: GPIO 32
Arduino also provides corresponding syntax: _touchRead(Touch Pin *);_
For instance, to read the touch sensor 0 (T0), you can perform: int value = touchRead(4);
The values read here are analog, and you can use the Serial Monitor to check the sensor readings and adjust the code accordingly. Here is the corresponding code:
/*******************************************************
   ESP32 Touch Button
   Function: Change LED state with a single touch on a touch button
   Pin: T0 (GPIO4)
   T0: GPIO 4
   T2: GPIO 2
   T3: GPIO 15
   T4: GPIO 13
   T5: GPIO 12
   T6: GPIO 14
   T7: GPIO 27
   T8: GPIO 33
   T9: GPIO 32
*******************************************************/

#define TOUTCH_PIN 4 // ESP32 Pin D4
#define LED_PIN 2

int touch_value = 100;
int flg = 0;

void setup() {
  Serial.begin(115200);
  delay(1000);
  Serial.println("ESP32 Touch Test");
  pinMode(LED_PIN, OUTPUT);
  digitalWrite(LED_PIN, LOW);
}

void loop() {
  touch_value = touchRead(TOUTCH_PIN);
  Serial.println(touch_value);
  if (touch_value < 40) {
    flg = ~flg;
    digitalWrite(LED_PIN, flg);
  }
}
Here's the experimental result:
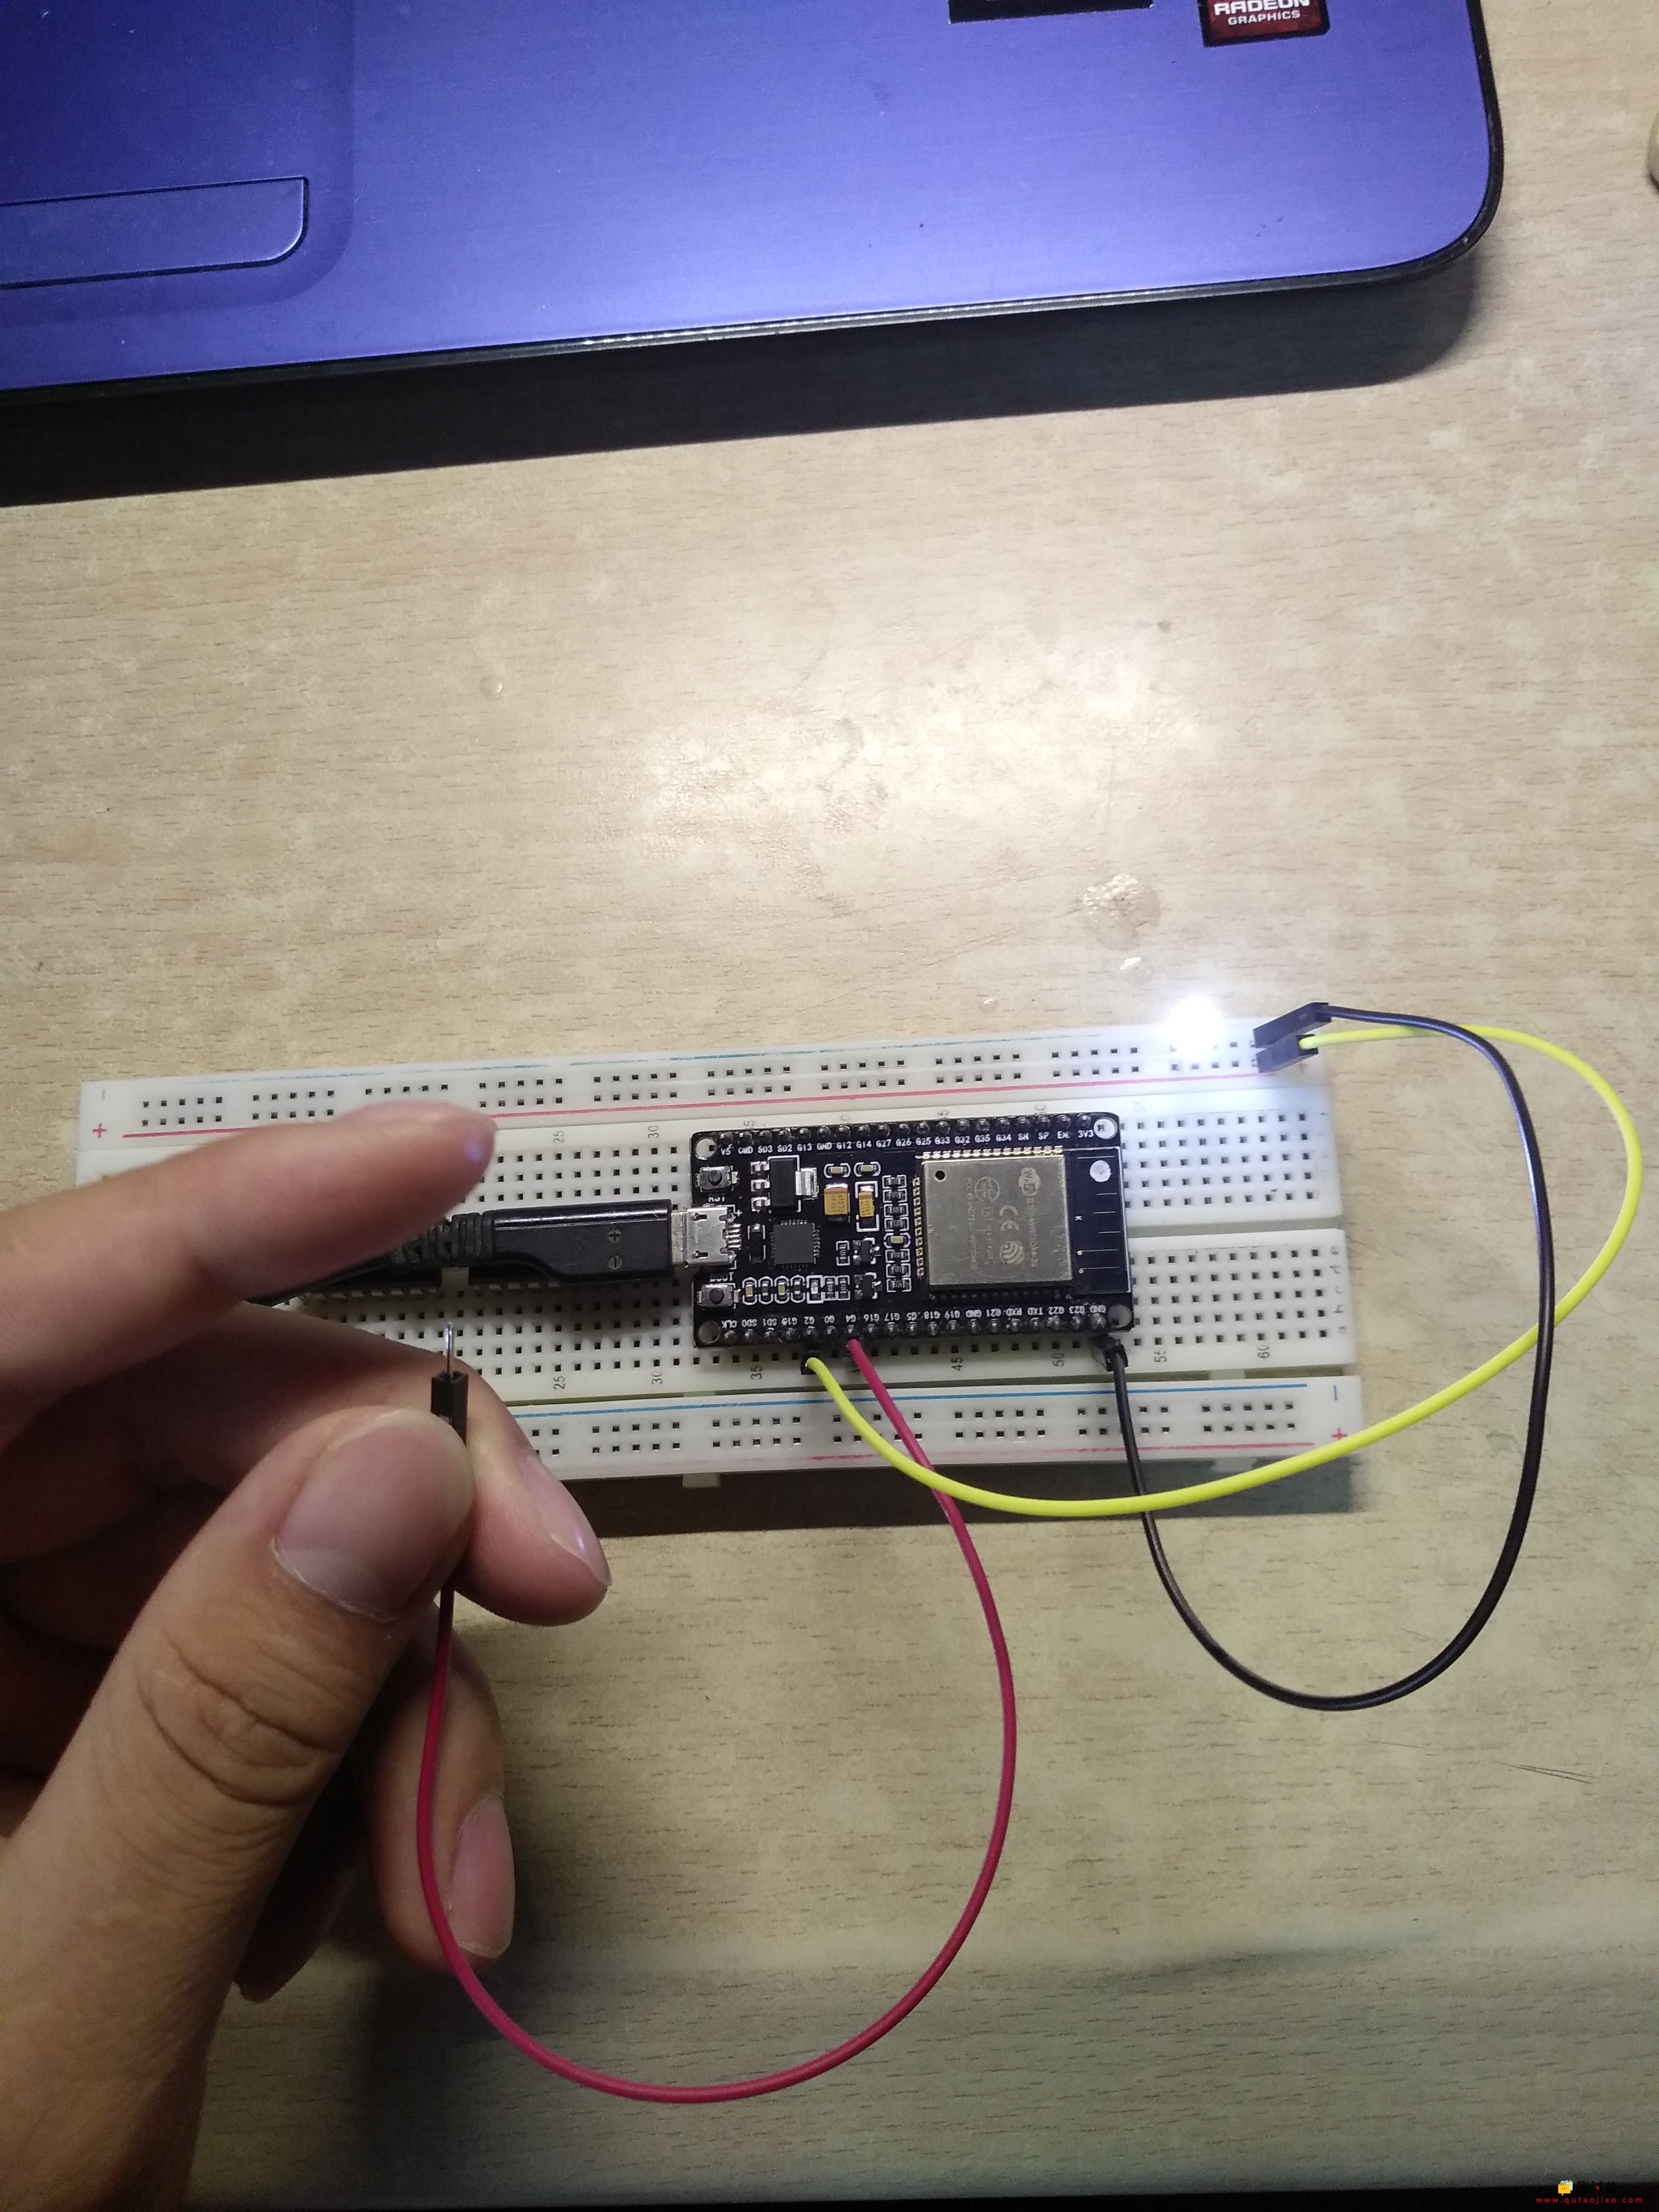
And just like that, a simple touch-sensitive button is complete.