Flash Code to ESP32 by Arduino IDE
To flash an ESP32, it need to install the ESP32 board support package in the Arduino IDE.
Here are the steps to follow:
-
Connect the ESP32 devolop board to your computer using the USB cable.
-
Open the Arduino IDE and go to
File > Preferences. In theAdditional Board Manager URLsfield, enter the URL for the ESP32 board support package
https://dl.espressif.com/dl/package_esp32_index.json
-
Go to
Tools > Board > Boards Managerand search for "ESP32". Install the ESP32 board support package. -
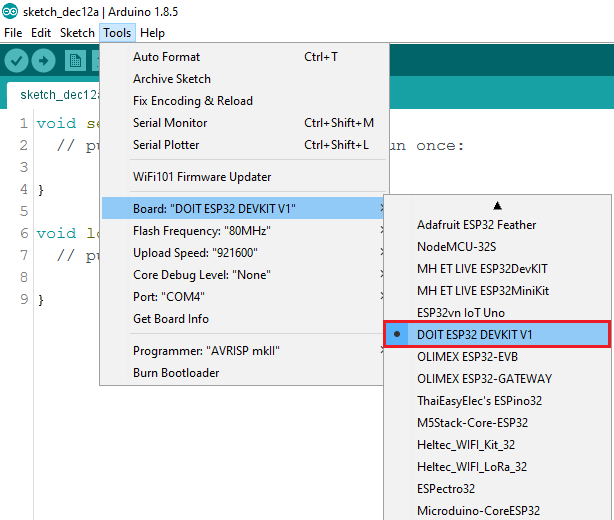
Go to
Tools > Boardand select the ESP32 board you are using (e.g. "ESP32 Dev Module").
-
Select the port that the ESP32 is connected to. On above picture, it chooses
COM4. -
Open the example sketch "Blink" by going to
File > Examples > 01. Basics > Blink. -
Upload the code to the ESP32 by clicking the upload button (the right-facing arrow in the top left of the Arduino IDE).
If the upload is successful, the ESP32 should start blinking an LED (if it has one) at a 1-second interval.
Bug
For some kinds of ESP32 development board it's hardware design may not support auto download, while start flashing, it need pressing the ESP32's reset button before uploading the sketch.
If you are not sure which development board has such feature, you can be the suggested board from this link, this development board is able to auto download program to board.
If you have interesting about this "bug", can further read 023_esp32_auto_flash.